KODAK EASYSHARE C160/C180 Digital Camera — User guide
Table of Contents > Product Overview
 Installing the software

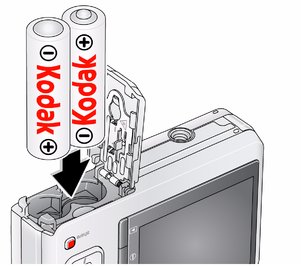
 Loading the batteries
|
See the Extended user guide |
 Turning on the camera

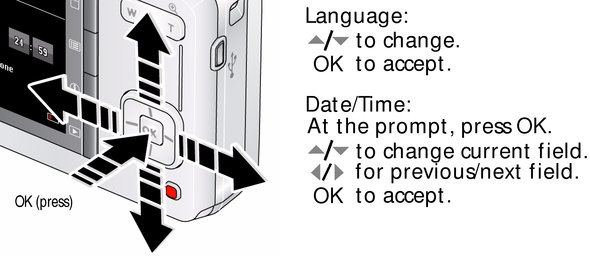
 Setting the language and date/time
|
See the Extended user guide |
 Taking a picture
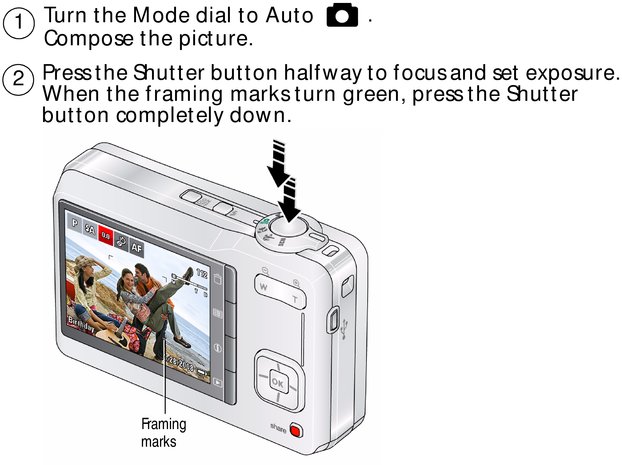
To learn more about Auto and other modes, see Doing more with your camera.
|
See the Extended user guide |
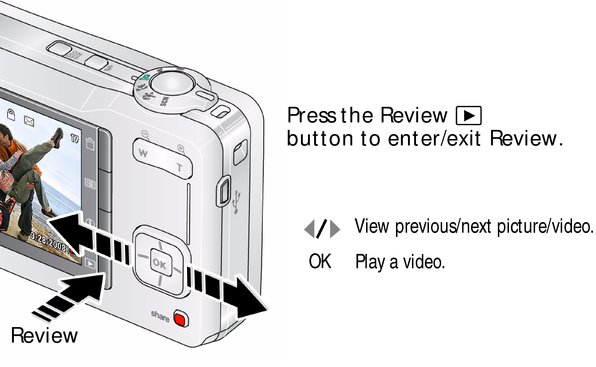
 Reviewing pictures/videos
|
See the Extended user guide |
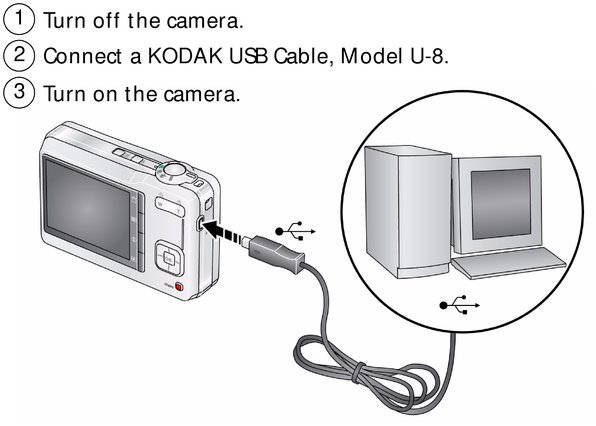
 Transferring pictures/videos
|
See the Extended user guide |
|
|
Purchase accessories |
www.kodak.com/go/c160accessories, www.kodak.com/go/c180accessories |
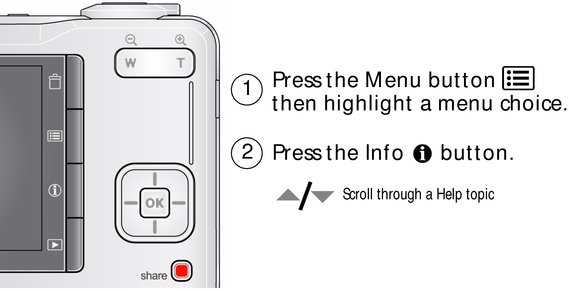
 Getting help from your camera
You want the most from your camera. You want to understand:
-
What it can do for you
-
And how to take the best possible pictures and videos
Great news!
Your camera offers a built-in Help system. It describes every setting for every menu choice. If you learn nothing else about your camera, learn how to use on-camera Help. Because the more you know your camera, the more confident you become.
|
See the Extended user guide |
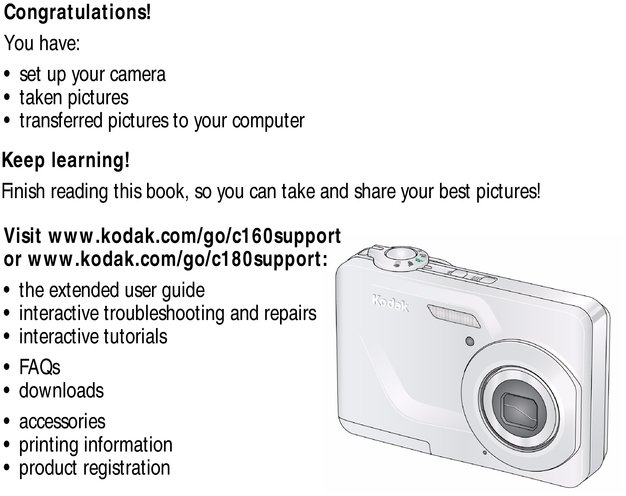
 Keep learning about your camera!
|
See the Extended user guide |
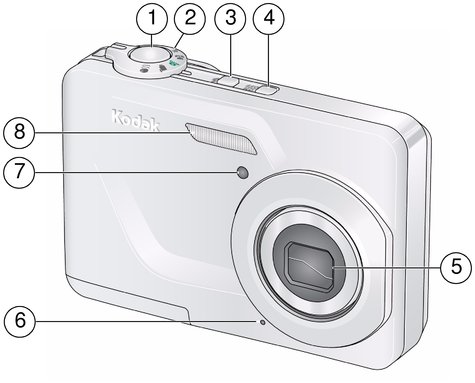
Front View
|
1 |
Shutter button |
5 |
Lens/Lens cover |
|
2 |
Mode dial |
6 |
Microphone |
|
3 |
7 |
Self-timer light |
|
|
4 |
Power button |
8 |
Flash |
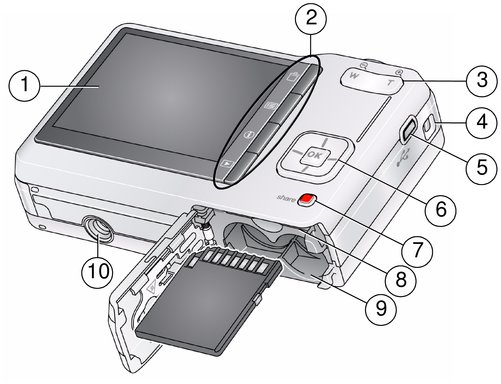
Back View
|
1 |
LCD |
6 |
|
|
2 |
Delete, Menu, Info, Review buttons |
7 |
Share button |
|
3 |
Zoom (Telephoto/Wide Angle) button |
8 |
SD/SDHC Card slot |
|
4 |
Strap post |
9 |
Battery compartment |
|
5 |
USB port |
10 |
Tripod socket |

 , OK button
 Previous Next