Kodak ESP 9 All-in-One Printer — User Guide
Table of Contents > Maintaining Your Printer > Replacing the printhead
9 Maintaining Your Printer
Replacing the printhead
If your printhead is damaged or broken, you may replace it yourself.
-
Make sure your printer is turned on.
-
Open the printer access door by lifting from the recessed hand-holds on the sides of the unit.
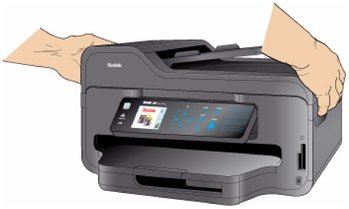
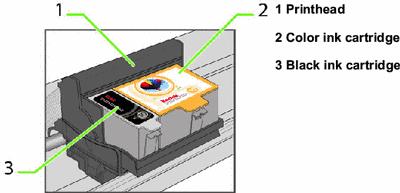
The printhead moves to an accessible position for handling the ink cartridges. The ink cartridges are seated in the printhead.
-
Pinch the latch on the ink cartridge with your thumb and forefinger and lift it out of the print head. Remove both ink cartridges.
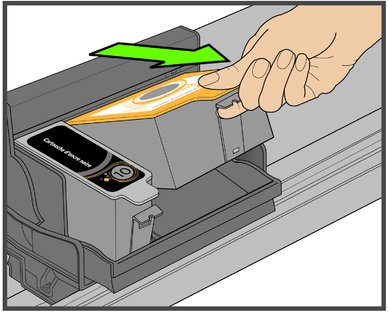

CAUTION:
Insert the ink cartridges into the newly installed printhead as soon as possible to prevent any drying of the ink. -
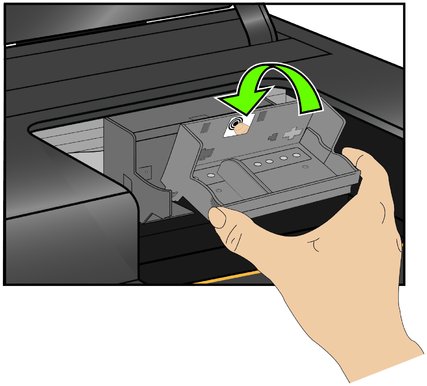
Unlatch the printhead by lifting the rectangular latch on the top of the printhead.

-
Remove the old printhead from the carriage .

-
Remove the new printhead from its bag.
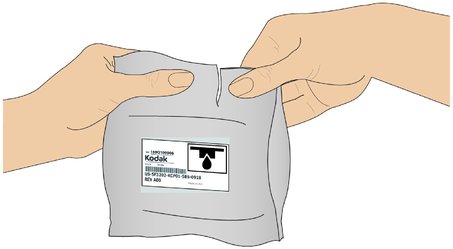
CAUTION:
Do not touch copper contacts on the printhead, as this may damage it. -
Remove and discard the black plastic casing and the orange protective cap.
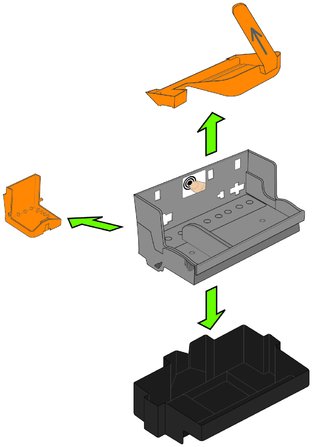
-
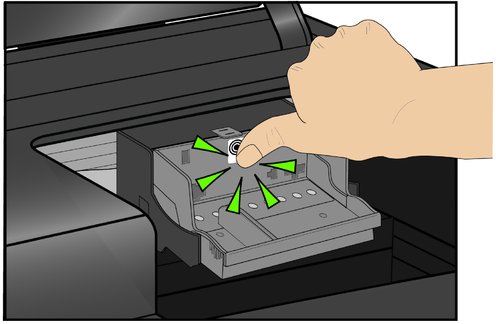
Place the new printhead into the carriage.
-
Push firmly against the target label on the printhead until you hear it click into place.
-
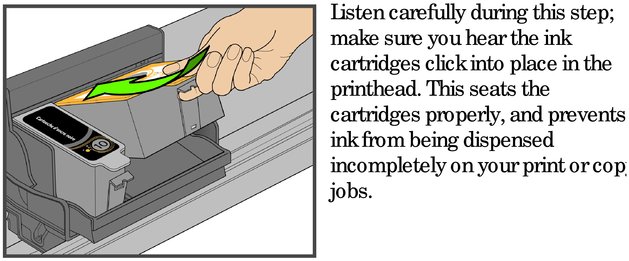
Re install the ink cartridges. As needed, see Replacing ink cartridges.
-
Close the printer access door. The printer should now complete a printhead calibration to ensure that it is ready to for normal operation.
Previous Next