KODAK HERO 7.1 All-in-One Printer — Extended User Guide
Table of Contents > Maintaining Your Printer > Replacing ink cartridges
9 Maintaining Your Printer
Replacing ink cartridges
Your printer uses black and color ink cartridges. You can check the approximate ink levels on the LCD (see Checking ink levels) or in Home Center Software. When an ink cartridge is out of ink, the control panel displays a message stating that the black or color ink cartridge needs replacing.
| IMPORTANT: | Do not use non-Kodak brand or refilled ink cartridges. |
-
Make sure the printer is on.
-
Lift the access door, and wait for the carriage to move to the access position.
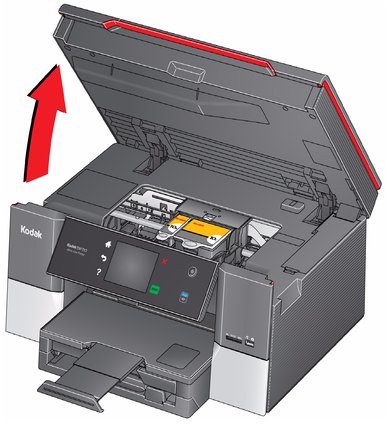
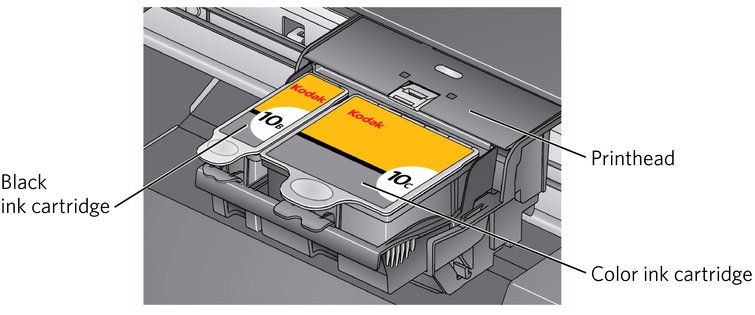
The ink cartridges are located in the printhead.
-
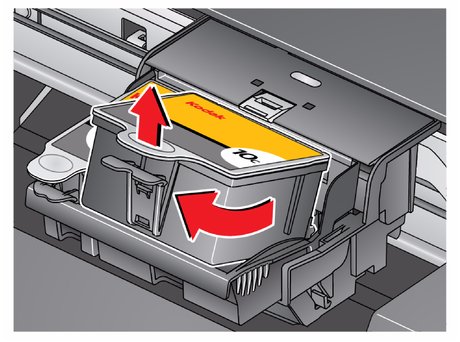
Pinch the tab on the ink cartridge and lift it out of the printhead.
-
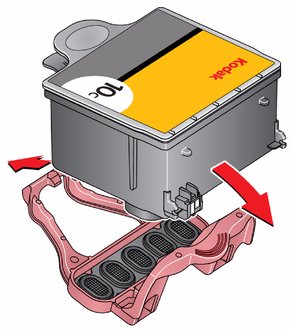
Remove the new ink cartridge from its bag.
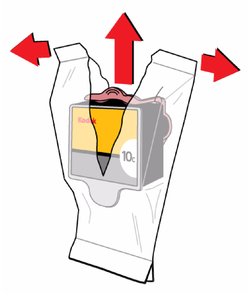
IMPORTANT: To prevent the printhead from drying out, insert the ink cartridge into the printhead immediately.
-
Remove the cap.
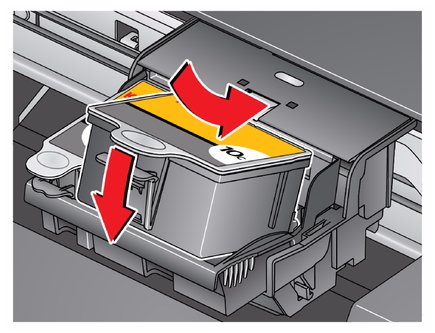
-
Insert the ink cartridge into the printhead.
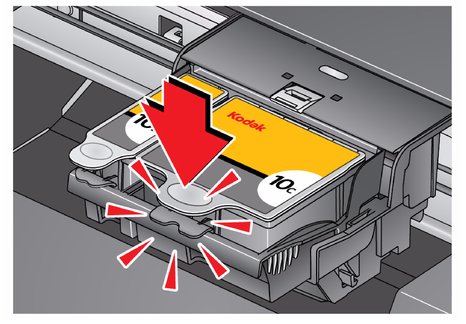
-
Press down on the ink cartridge tab until you hear a click.
Previous Next