KODAK HERO 9.1 All-in-One Printer — Extended User Guide
Table of Contents > Handling Paper > Loading paper
4 Handling Paper
Loading paper
Loading paper in the main paper tray
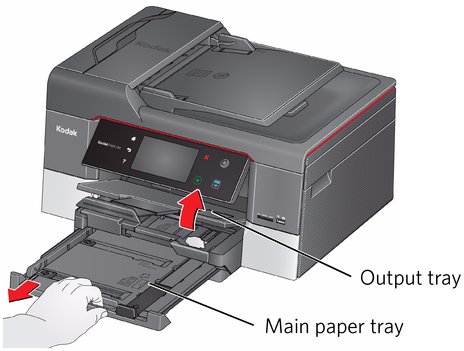
The main (bottom) paper tray capacity is 100 sheets of plain paper.
-
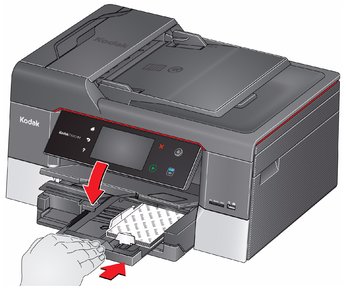
Raise the output tray, and pull out the main paper tray.
-
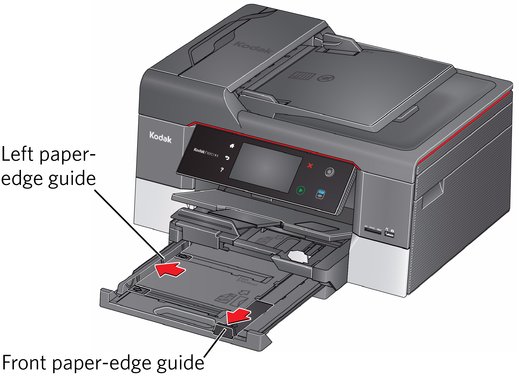
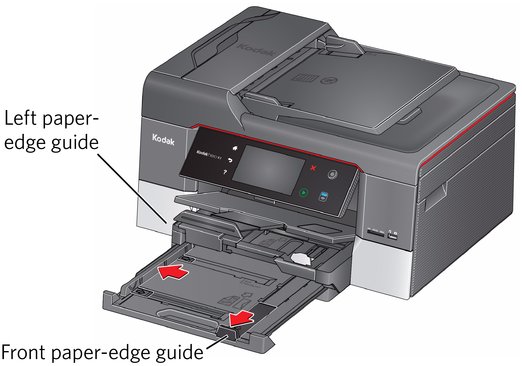
Move the left paper-edge guide to the far left.
-
Move the front paper-edge guide forward.
-
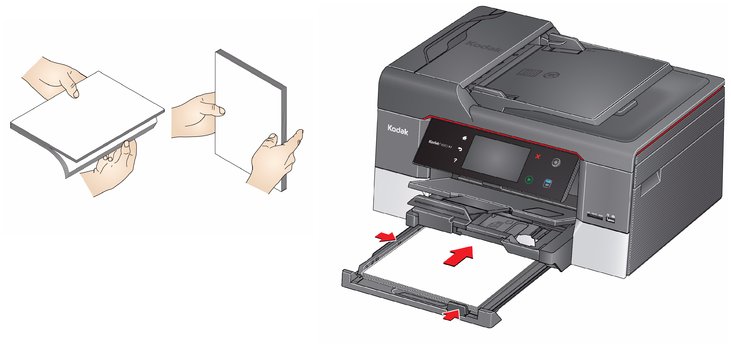
Fan and stack the paper, then insert it into the tray.
-
Move the paper forward until it stops.
-
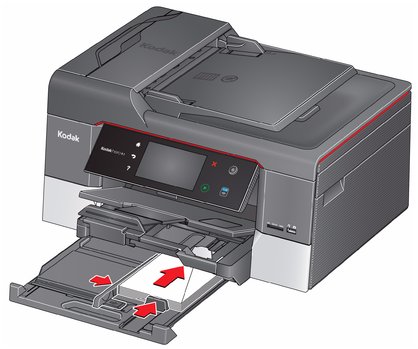
Move both the left and front paper-edge guides until they touch the paper.
-
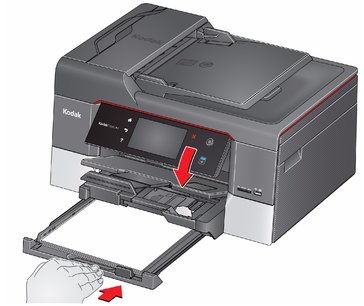
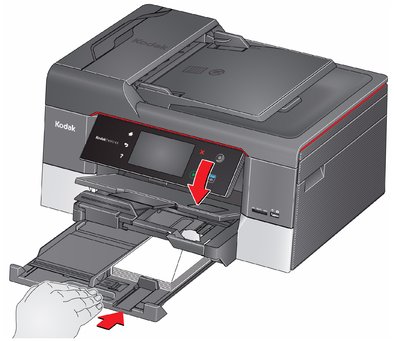
Push in the main paper tray until it clicks into place, and lower the output tray.
-
Pull out the output tray extender until it is fully extended.
-
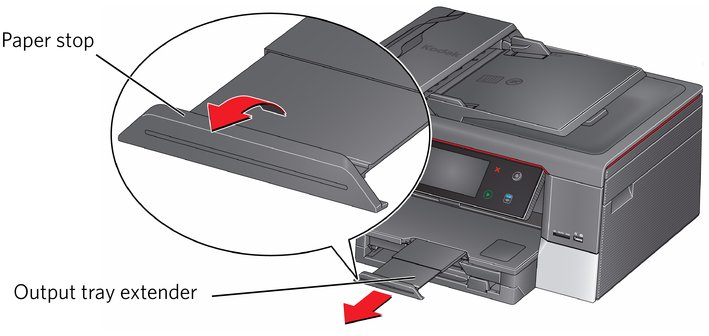
NOTES:
-
You can also load photo paper as small as 4 x 6 in. / 10 x 15 cm in the main paper tray.
-
When you use legal-size paper, pull out the output tray extender until it is fully extended, but do not lift the paper stop.
-
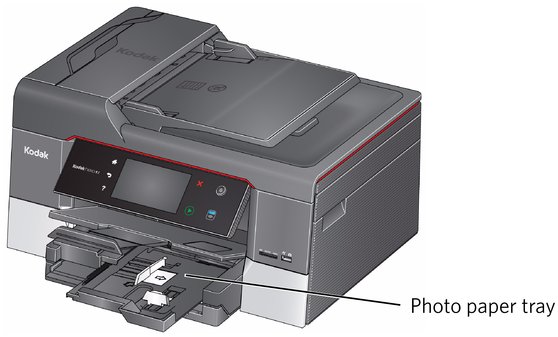
Loading the photo paper tray
The photo (top) paper tray capacity is 40 sheets of photo paper.
-
Raise the output tray, and pull out the photo paper tray.
-
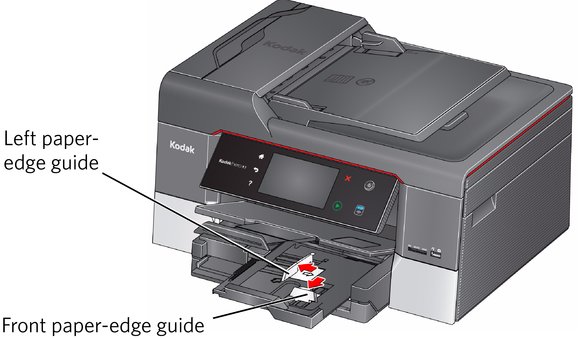
Move the left paper-edge guide to the far left.
-
Move the front paper-edge guide forward.
-
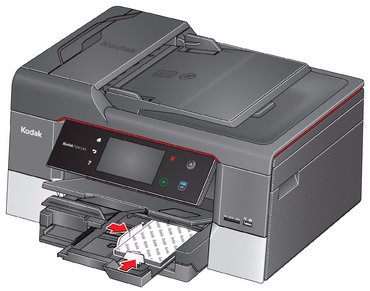
Insert photo paper (short side first) up against the right side of the tray with the logo side facing up and the glossy side down.
IMPORTANT: If the photo paper is loaded the wrong way, the ink on your pictures will be wet and the image quality will be affected.
-
Move the paper forward until it stops.
-
Move both the left and front paper-edge guides until they touch the paper.
-
Push the photo paper tray until it is even with the main paper tray.
Loading envelopes
The main (bottom) paper tray capacity is 20 envelopes.
| IMPORTANT: | Do not load envelopes with cutout or clear windows. |
-
Raise the output tray, and pull out the main paper tray.

-
Remove any paper from the tray.
-
Move the left paper-edge guide to the far left.
-
Move the front paper-edge guide forward.
-
Insert the envelopes with the flap up and against the right side of the tray.
-
Move the envelopes forward until they stop.
-
Move both the left and front paper-edge guides until they touch the envelopes.
-
Push in the main paper tray until it clicks into place, and lower the output tray.
Previous Next