KODAK HERO 4.2 All-in-One Printer — Extended User Guide
Table of Contents > Handling Paper > Loading paper
4 Handling Paper
Loading paper
Loading plain paper
The capacity of the paper tray is 100 sheets of plain paper.
 Click to view a video that demonstrates loading plain paper.
-
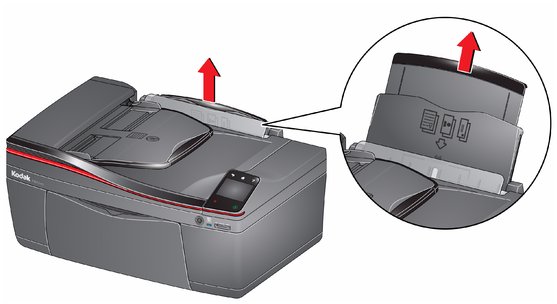
Lift the paper input tray.
-
Move the left paper-edge guide to the far left.
-
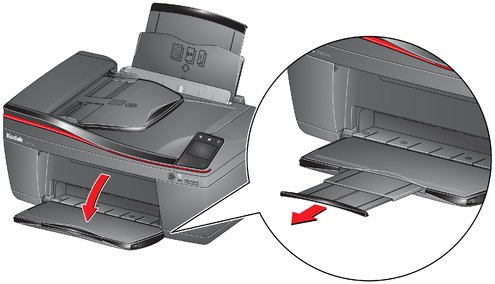
Pull out the paper output tray and the extender until they are fully extended.
-
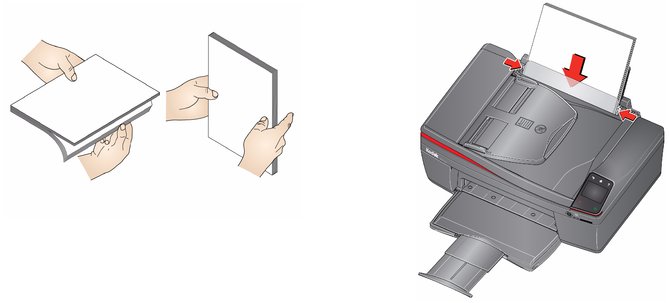
Fan and stack the paper.
-
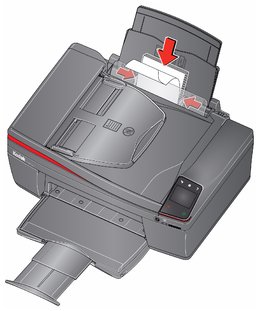
Move the ADF paper-edge guides outward, then insert the paper into the paper input tray.
-
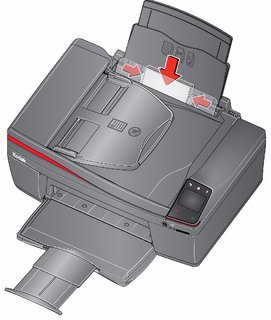
Move the paper-edge guides until they touch the paper.
Loading photo paper
The capacity of the paper input tray is 20 sheets of photo paper.
 Click to view a video that demonstrates loading photo paper.
-
Remove any plain paper from the tray.
-
Move the left paper-edge guide to the far left.
-
Insert the paper (short side first) into the input tray with the logo side facing toward the tray and the glossy side toward you.
IMPORTANT: Always load the paper short side first. The printer automatically detects the orientation of the picture, whether it's portrait or landscape, and prints accordingly. If the photo paper is loaded in the wrong direction, the image will be cut off and the paper may jam. If the paper is loaded with the wrong side up, the image quality will be affected.
-
Move the paper-edge guides until they touch the paper.
Loading envelopes
The capacity of the paper input tray is 20 envelopes.
| IMPORTANT: | Do not load envelopes with cutout or clear windows. |
-
Remove any paper from the tray.
-
Move the left paper-edge guide to the far left.
-
Insert the envelope(s) into the tray with the flap away from you and the top of the envelope against the right side of the tray.
-
Move the paper-edge guides until they touch the envelope(s).
Previous Next