KODAK ESP 3200 Series All-in-One Printer — Includes Information for the: ESP 3250 All-in-One Printer ESP 3260 All-in-One Printer
Table of Contents > Maintaining Your Printer > Replacing the printhead
7 Maintaining Your Printer
Replacing the printhead
| IMPORTANT: | Replacing the printhead is not a regular maintenance procedure. Replace the printhead only if you receive a new printhead from Kodak. |
To replace the printhead:
-
Make sure your printer is on.
-
Lift the printer access door, and wait for the carriage to move to the access position.

-
Remove any paper that may be loaded in the printer.
-
Remove both ink cartridges and set them aside.
-
Unlatch the used printhead by lifting the button in the center of the carriage.
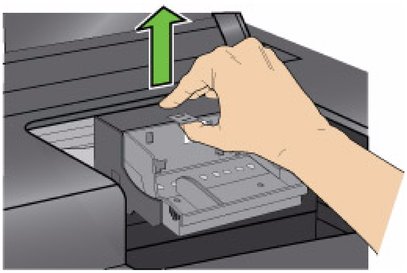
-
Lift the used printhead out of the carriage .
-
Remove the new printhead from its bag.
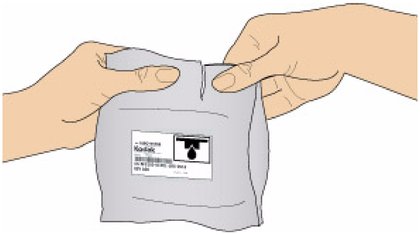

CAUTION:
Do not touch the copper contacts on the printhead, as this may damage it. -
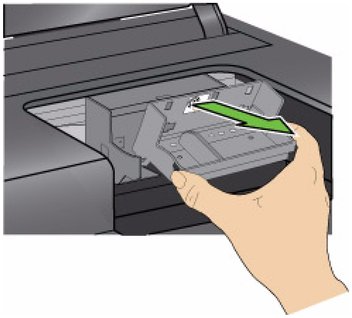
Remove the two plastic protective shields.
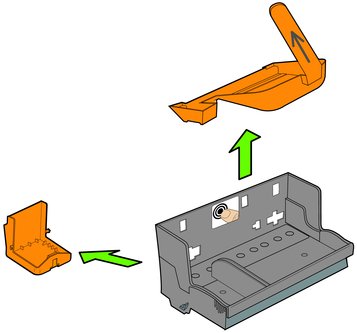
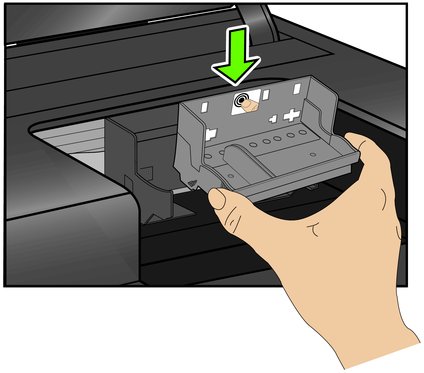
-
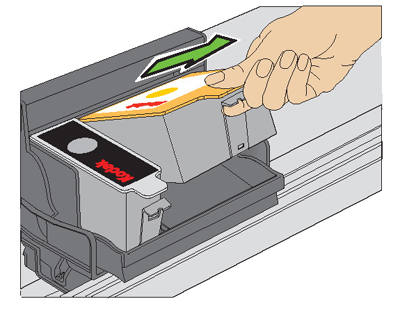
Place the new printhead into the carriage. Insert it at the angle shown.
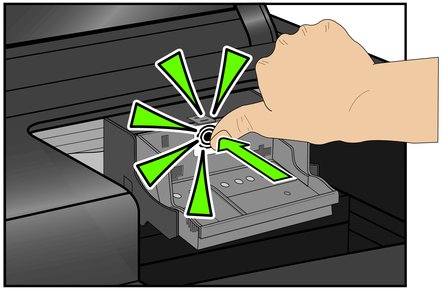
-
Push firmly against the target label of the printhead until you hear a loud snap.
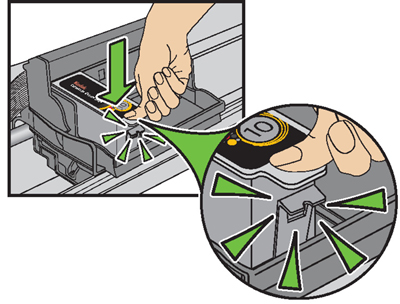
-
Insert the black ink cartridge into the printhead.
-
Press down on the ink cartridge until you hear it click into position.
-
Repeats steps 11 - 12 for the color ink cartridge.
-
Close the printer access door.
The printer detects the new printhead. Follow the instructions on the LCD to calibrate your printer.
Previous Next