Kodak EasyShare photo printer 500 — User's Guide
Table of Contents > Getting started > Installing and removing the color cartridge
1 Getting started
Installing and removing the color cartridge
|
|
|
|
|
||
|
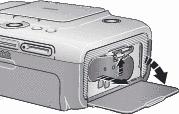
1.
Open the cartridge door on the side of the photo printer.
|
|||||
|
2.
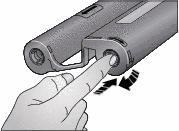
Check to make sure there is no slack in the color cartridge ribbon.
To remove slack, push in on the cartridge spool, then rotate the spool clockwise.
|
||||
|
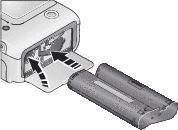
3.
Slide the color cartridge in, label side up, with the arrow pointing toward the photo printer. Push the cartridge until it "clicks" into place.
|
||||
|
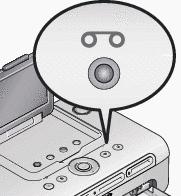
4.
Close the cartridge door.
|
|||||
|
|
|
|
|
||
|
|
||||
|
|
|
|
|
|
|
||
|
|||
Previous Next