Kodak EasyShare wireless digital picture frame — User's guide
Table of Contents > Getting started > Setting up your picture frame
1 Getting started
Setting up your picture frame
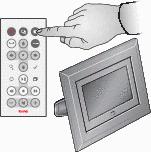
Buttons and controls
|
|
|
|
|
|
All buttons and controls described in this guide (for example: press  ) are on the remote control unless otherwise noted. ) are on the remote control unless otherwise noted. |
||
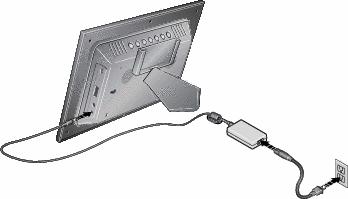
Connecting the power cable
-
Pull out and extend the stand on the frame back and place the frame on a flat, stable surface.
-
Plug in the power cable.
Your power cable (included with the frame) may be different from the one pictured. Use the plug that accommodates your type of power outlet.
Inserting a card or camera

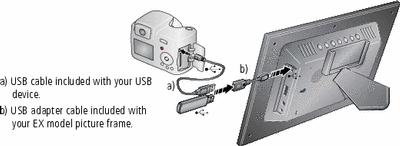
Connecting a digital camera or other USB device
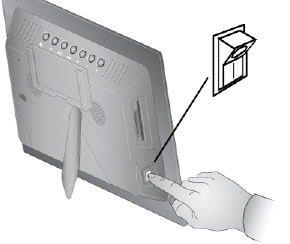
Turning on the frame
|
|
|
|
|
||
|
|
||||
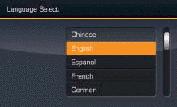
Setting your language
|
|
|
|
|
|
The language screen appears the first time you turn on your frame. | ||
|
|||
|
|||
 to select your language, then press OK.
  , Settings
Viewing your first slide show!
|
|
|
|
|
|
|
||
|
|||
|
|||
 to highlight your picture source, then press
  to start the slide show.
  with your pictures or slide shows, see
 Changing the frame orientation
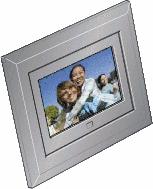
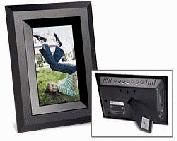
Your frame is set up to display pictures in landscape orientation  . You can turn it to portrait
  but you must also change the setting. Here's how.
|
|
|
|
|
|
1.
Press Home
 , Settings , Settings  . . |
||
|
2.
Press
 to select Viewing options, then press OK. to select Viewing options, then press OK. |
|||
|
3.
Press
 to select Frame orientation, then press OK. See to select Frame orientation, then press OK. See
 .
. |
|||
Previous Next