KODAK HERO 4.2 All-in-One Printer — Extended User Guide
Table of Contents > Copying > Copying a photo
7 Copying
Copying a photo
You can copy a photo using the default settings, or you can make adjustments to the quantity, size, quality, and brightness of your copies. When you copy a photo, the printer will use paper from the top paper tray, unless you specify otherwise.
Using the default settings to copy a photo
The default settings are either the factory default settings (see Resetting factory defaults), or defaults that you have set on the printer (see Save as Default at the bottom of the table under Adjusting the settings and copying a photo).
-
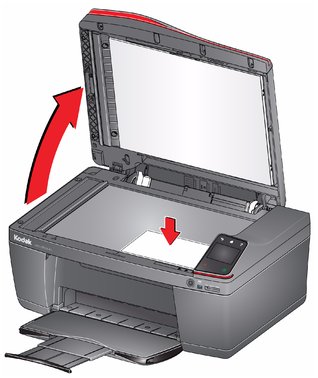
Lift the scanner lid, and place the photo face down in the right-front corner of the scanner glass.

IMPORTANT: Do not load photos in the Automatic Document Feeder (ADF).
-
Close the lid.
-
Press
 .
. -
Touch Copy Photo.
-
Press
 to begin copying.
Adjusting the settings and copying a photo
-
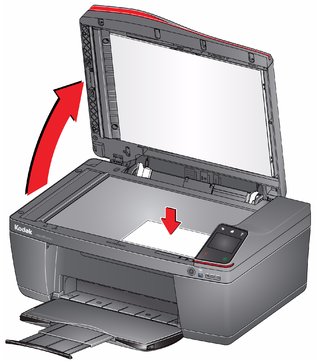
Lift the scanner lid, and place the photo face down in the right-front corner of the scanner glass.
IMPORTANT: Do not load photos in the Automatic Document Feeder (ADF).
-
Close the lid.
-
Press
 .
. -
Touch Copy Photo, then touch Options.
-
Touch
 or
or  , then touch the setting you want to change.
 Copy Photo Option Setting Description Quantity
1 (default) to 99
The number of copies that print.
Color Mode
Color (default)
Prints full color.
Black & White
Prints black and white (gray scale).
Copy Size
2 x 3
3.5 x 5
4 x 6 (default)
4 x 7
4 x 8
5 x 7
4 x 12
8 x 10
8.5 x 11 or A4
The printer enlarges or reduces the original to make it the copy size you select.
If the selected copy size is smaller than the paper in the paper tray, the printer automatically arranges the pictures to best fit the paper size.
Lighter/Darker
Normal, - 3 to +3 (Normal is default)
Lightens or darkens the copy. Normal is no change from the original; - 3 is the darkest; +3 is the lightest.
Quality
Normal (default)
Good quality output; prints faster than Best.
Best
The printer detects photo paper in the paper tray and sets Best quality automatically.
Draft
The fastest print speed, but the lowest quality.
Save as Defaults
No / Yes
To save settings as the new default, touch Yes.
-
Press
 to begin copying.
Changing the number of copies of a photo
-
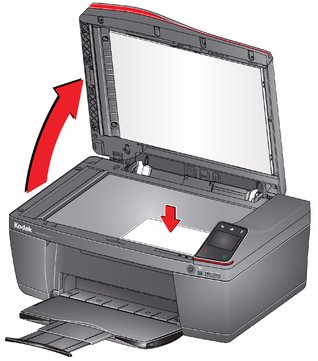
Lift the scanner lid, and place the photo face down in the right-front corner of the scanner glass.
IMPORTANT: Do not load photos in the Automatic Document Feeder (ADF).
-
Close the lid.
-
Press
 .
. -
Touch Copy Photo.
-
Touch
 or
or  to select a number.
 -
Press
 to begin copying.
Enlarging or reducing the size of a copy of a photo
-
Lift the scanner lid, and place the photo face down in the right-front corner of the scanner glass.
IMPORTANT: Do not load photos in the Automatic Document Feeder (ADF).
-
Close the lid.
-
Press
 .
. -
Touch Copy Photo, then touch Options.
-
Touch Copy Size.
-
Touch
 or
or  , then touch a size selection.
 -
Press
 to begin copying.
Darkening or lightening a copy of a photo
-
Lift the scanner lid, and place the photo face down in the right-front corner of the scanner glass.

IMPORTANT: Do not load photos in the Automatic Document Feeder (ADF).
-
Close the lid.
-
Press
 .
. -
Touch Copy Photo, then touch Options.
-
Touch Lighter/Darker.
-
Touch
 to select a number below zero for a darker copy, or touch
  to select a number above zero for a lighter copy.
 -
Press
 to begin copying.
Previous Next