KODAK EASYSHARE Digital Picture Frame — Wireless Setup Guide
Table of Contents > Set up your wireless frame > Connect to your wireless network
3 Set up your wireless frame
Connect to your wireless network
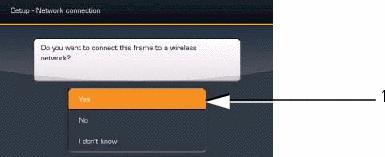
The setup screen asks, Do you want to connect this frame to a wireless network?
-
Press
 to highlight Yes.
 If you select No, you can connect to your wireless network later. See
 .
. -
Press OK.
The frame scans for available wireless networks.
-
Press
 to highlight your network, then press OK.
Enter security key (if you have security enabled)
If you have wireless network security enabled, the on-screen keyboard appears and you are prompted to enter your security key. If not,
 go to step 6.
-
Enter your security key on the on-screen keyboard. On the remote control, press
 to highlight each character. Press OK after each character.
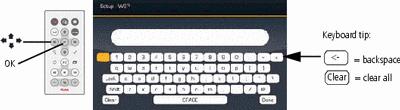
NOTE: A WEP key can be either: 5 or 13 characters (0-9, A-Z, some special characters, case sensitive), 10 or 26 characters (0-9, A-F, not case-sensitive). A WPA key is 8-63 characters, case sensitive.
The person who set up your network can provide you with this information.
-
Highlight Done on the keyboard, then press OK on the remote control.
The Connecting screen appears, then acknowledges that you are connected!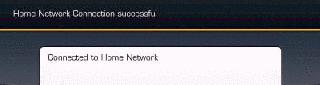
The Scanning screen appears as the frame scans your network and then lists available computers.
-
Press
 to highlight your computer, then press OK.
Congratulations, you've completed your network setup!
NEXT: Share your media with your frame

Previous Next